
Welcome to Day 2 of the Terraform Tutorial Series.
Today, we’ll walk you through creating your first Terraform configuration to deploy resources on AWS.
Prerequisites
Before we start, ensure the following are in place:
- Terraform Installed: Follow the instructions from Day 1.
- AWS CLI Configured: Install and configure the AWS CLI with your credentials.
- An AWS Account: If you don’t have one, sign up here.
Step 1: Create a Working Directory
Start by creating a directory for your Terraform project. Open your terminal and run:
mkdir terraform-aws-demo
cd terraform-aws-demo
Step 2: Write Your First Configuration
Create a file named main.tf in your project directory. This file will define the AWS provider and a simple resource.
Open it in your favorite text editor and add the following. Make sure set your correct region.
# Specify the provider
provider "aws" {
  region = "us-east-1"
}

# Create an AWS S3 bucket
resource "aws_s3_bucket" "example" {
  bucket = "my-first-terraform-bucket-${random_string.suffix.result}"
}

# Generate a random string for unique bucket naming
resource "random_string" "suffix" {
  length  = 6
  special = false
}
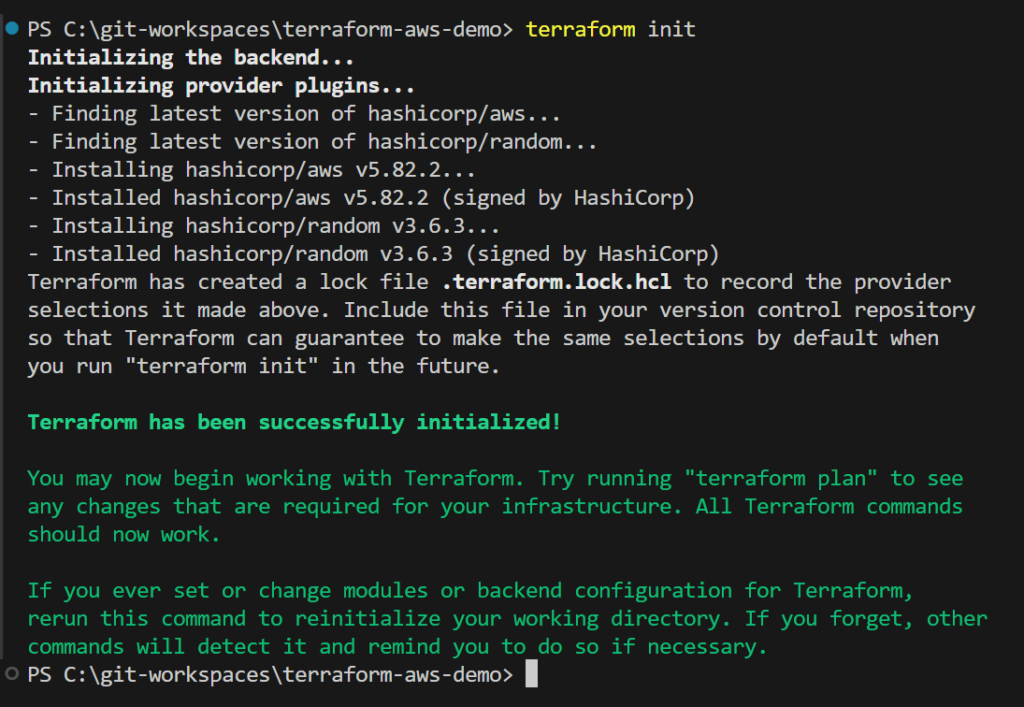
Step 3: Initialize Terraform
Terraform uses the terraform init command to prepare your working directory by downloading the necessary provider plugins.
Run the following command in your terminal:
terraform initYou should see the following output indicating that the AWS provider has been downloaded and initialized.
Step 4: Plan the Configuration
Next, preview the changes Terraform will make to your AWS account by running:
terraform planThis command generates an execution plan, showing you what resources will be created, modified, or destroyed.
Step 5: Apply the Configuration
To create the resources defined in your main.tf file, run:
terraform applyTerraform will prompt you to confirm. Type yes to proceed. Once completed, you’ll see output confirming that the resources were created.
Step 6: Verify the Resource
Log in to the AWS Management Console and navigate to the S3 service.
You should see a new bucket named my-first-terraform-bucket-<random_string>.
Step 7: Clean Up
To avoid incurring unnecessary costs, destroy the resources you just created:
terraform destroyType yes when prompted. Terraform will delete the resources it created.
Real-World Tip
- Always use unique names for resources to avoid conflicts, especially when working in shared environments.
- Use variables for dynamic configurations, which we’ll cover in the next post.
What’s Next?
In Day 3, we will look at providers and resources, exploring how Terraform communicates with AWS and other cloud platforms.
Stay tuned as we build on today’s progress!